Sections
Project Year:
2017
This is an interactive model of the PS4.
Produce a motion graphics video, between the length of one to five minutes.
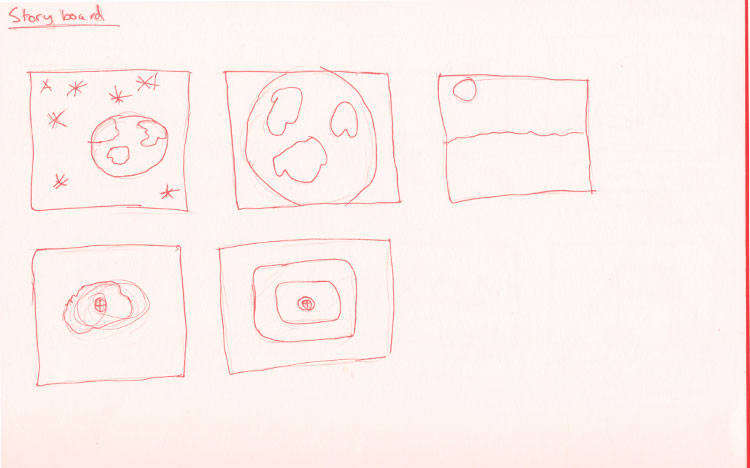
Before starting my motion graphics, I came up with several different ideas which I could create a motion graphics video. The first idea was the intro for the show ‘Doctor Who’, I would create the Tardis in Maya (3D software) and also a space scene, then create different shots which would be found in the intro. The second idea was creating an info-graphic using different 3D models I would produce, the info-graphic could have been on global warming. I felt this idea would not have been interesting to watch and kind of tedious to make. The last idea I had was a small advertisement video for a water company or sink company. I produced a storyboard for this idea, showing different shots I thought would be good to include.
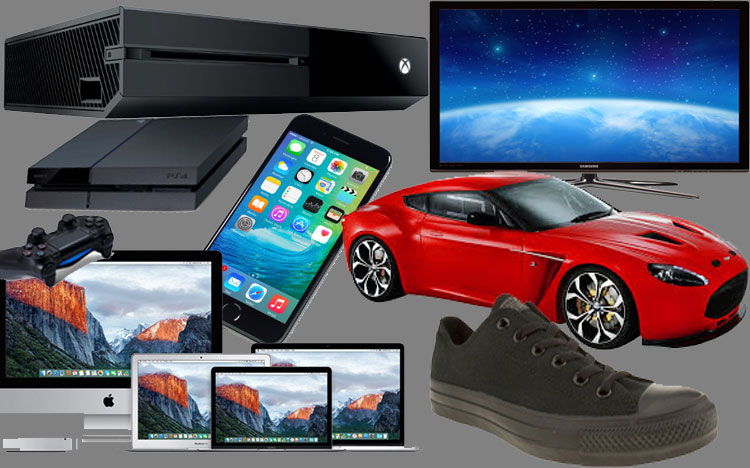
The mood board shows different products, which I could have ended up producing in my motion graphics. Each of the items I would have had to 3D model them, so some I did not choose because of the complexity of modelling it.
The first video which I looked at was a 3D product visualisation for HDANYWHERE; the video gave me ideas in which I could produce different angles and shots within my motion graphics.
With the second video, it showed how I could potentially add typography into the motion graphics and also the ways I could show different parts of the console moving and working.
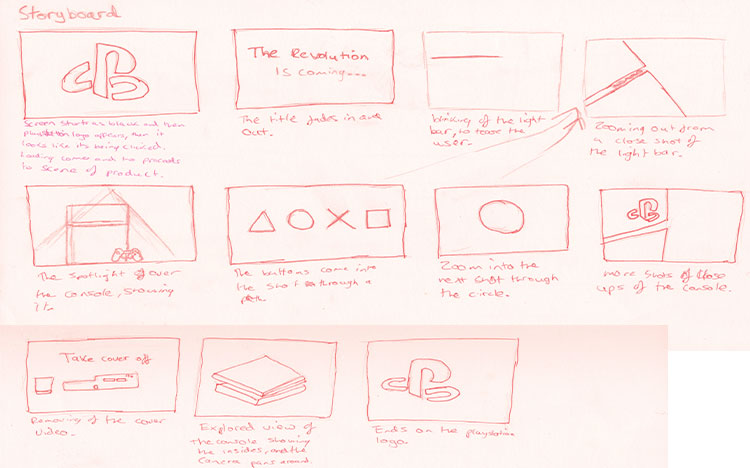
The idea I went with was doing a 3D product visualisation of a PS4; I felt I could best use my skills of 3D modelling with this idea. The storyboard shows the different scenes I planned to create for the motion graphics.
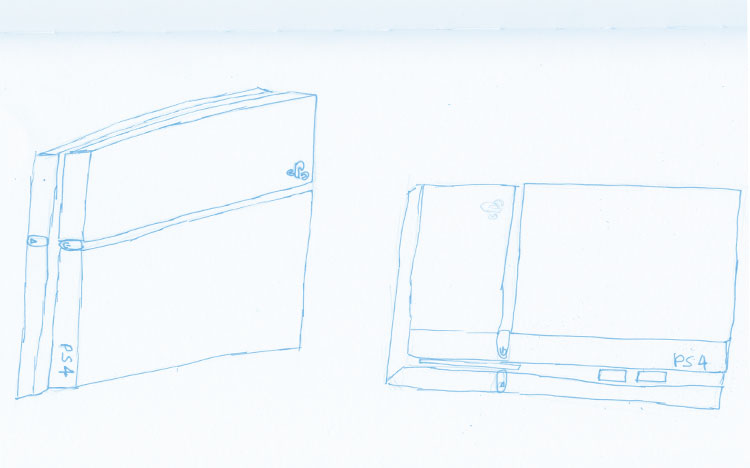
This is a rough sketch of a ps4, I produced to get a better understanding of the construction of the product. I felt like this would help me model the ps4 better.
I went with Maya 3D software because I have a spent majority of my 3D modelling time on it, so it is familiar and I felt I would be able to best produce the 3D model on this software over others, as I do not have as much experience on them.
For the modelling process, I found images of the front and side views of the ps4 to use as a reference when modelling. The images allowed me to get the shape and detail of the console correct. If I had gone freehand, the model would not have turned out how I would have wanted. I started off with basic shapes of rectangles to have a place to progress.
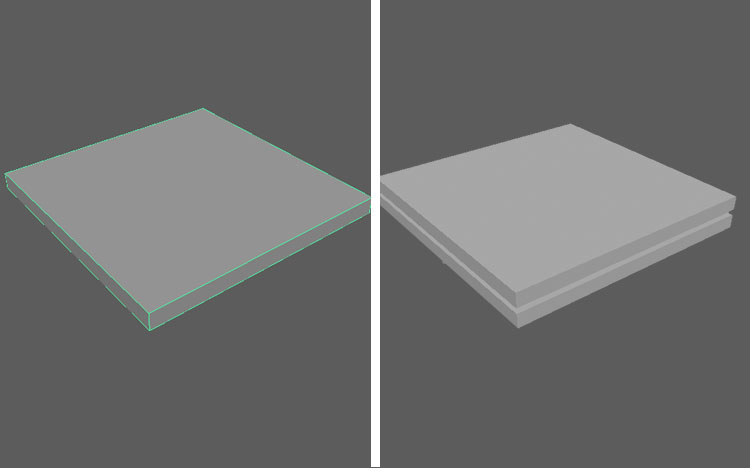
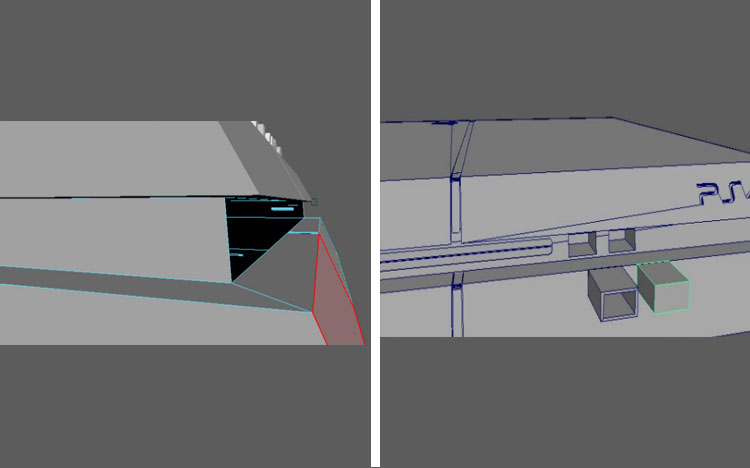
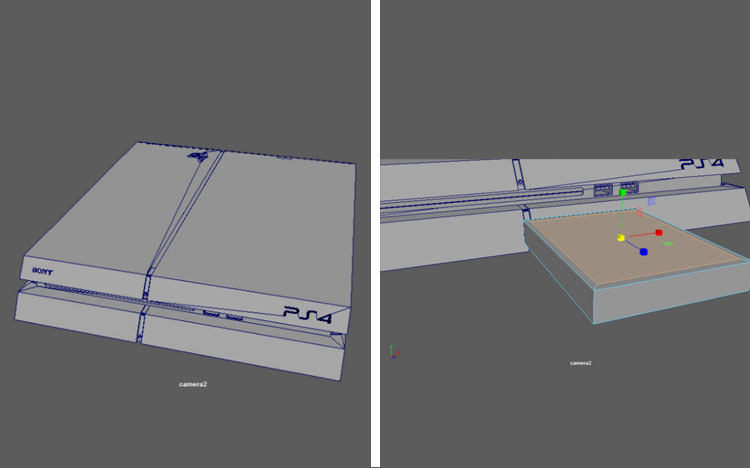
Once I had the shape of the console done, I then moved the edges of the front and back to create the slanted shape of the console. Once done I cut in the light bar using the cut edge tool and extruded the face inwards.
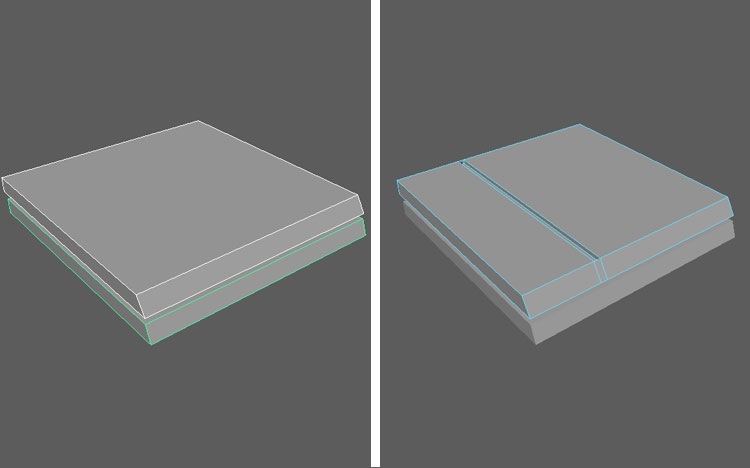
Next, I put in the ps4 logo into the console by using the font tool inside Maya, and I was able to create the logo in the correct position. Using the boolean difference feature inside Maya, I was able to put in the disk tray and USB ports. The tool allows me to create the shape of another object within a completely different. I finished off by putting the buttons for the power and eject; this process took awhile because the shape was kind unique.
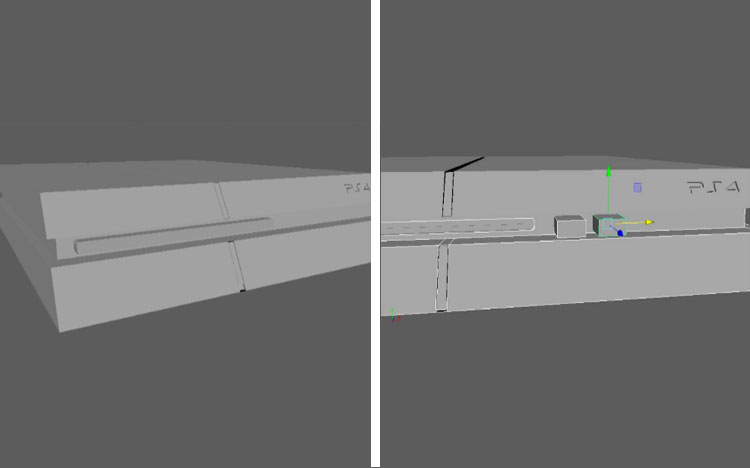
The disk tray and USB ports messed up, which meant I had to start that certain section again, the process did not take long because I had already done it before. The image is how the front of ps4 turned out.
After completing the majority of front face of the ps4, I started adding detail like power button logo and eject button logo; I quickly figured how to produce the logos and make them look like the real thing.

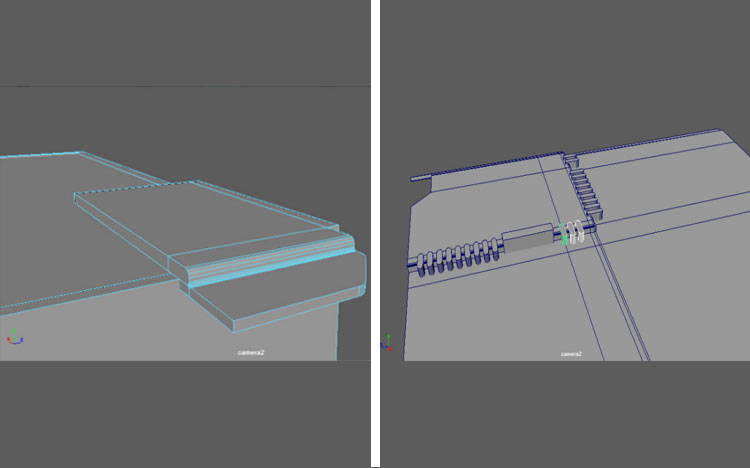
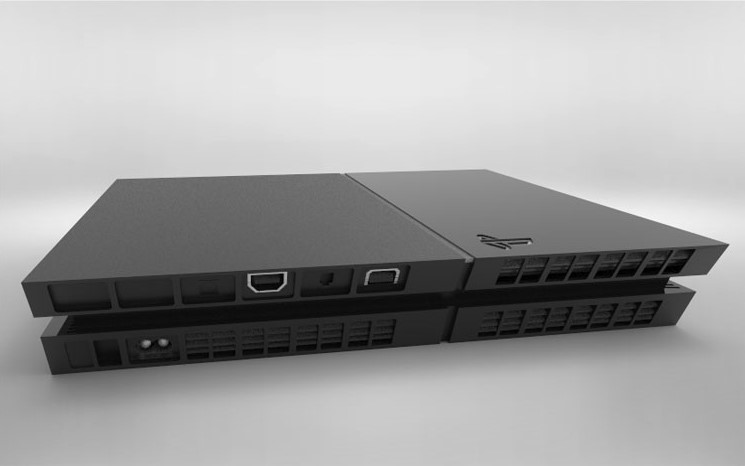
When I finished the front face, I moved on to doing the back side. The modelling took longer than expected because of all the fine detail and many different shapes within it.
I had to shape out the ports on the back of ps4 individually, some of the shapes proved difficult to create, but in the end it turned out how I desired.
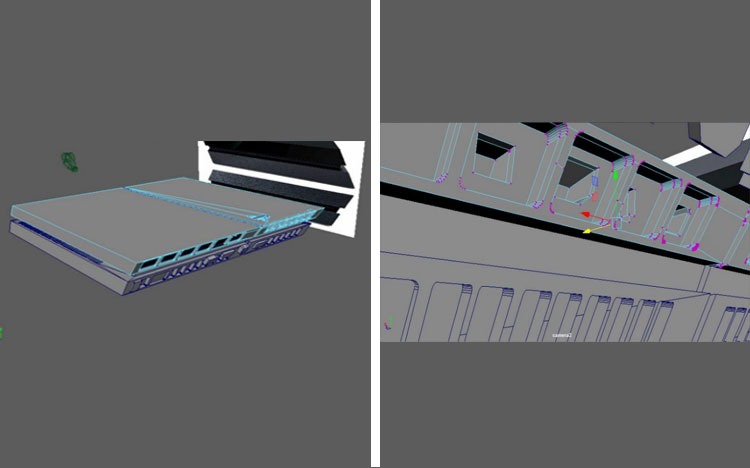
I began to put in extra detail like the power port and the vents to give the ps4 a realistic look and feel. These all made the ps4 model come together, and it meant it was ready for the animation stage.
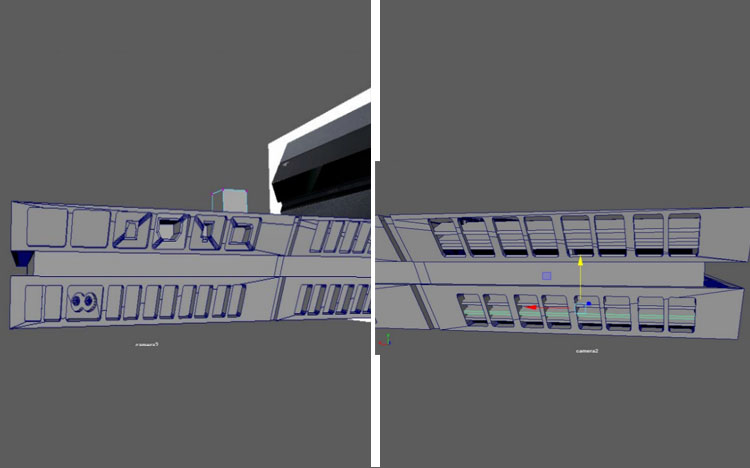
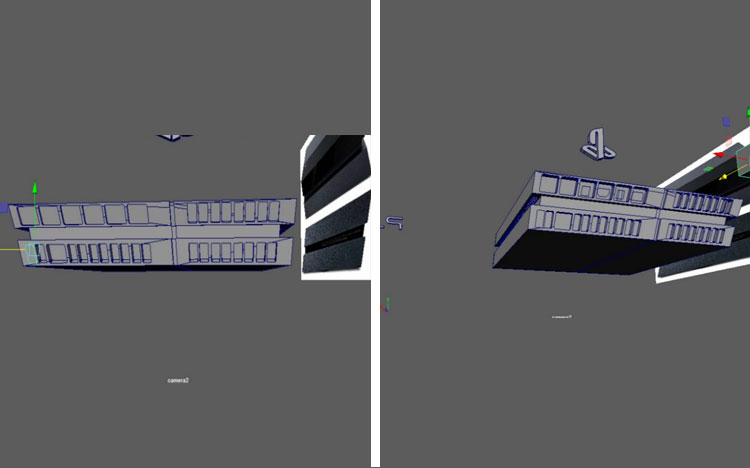
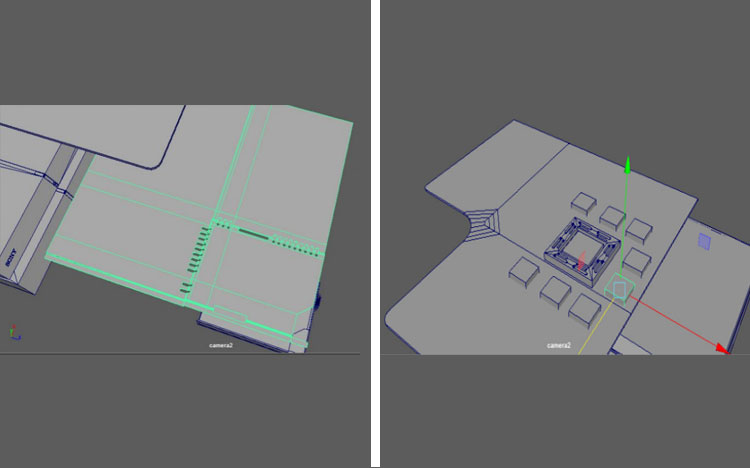
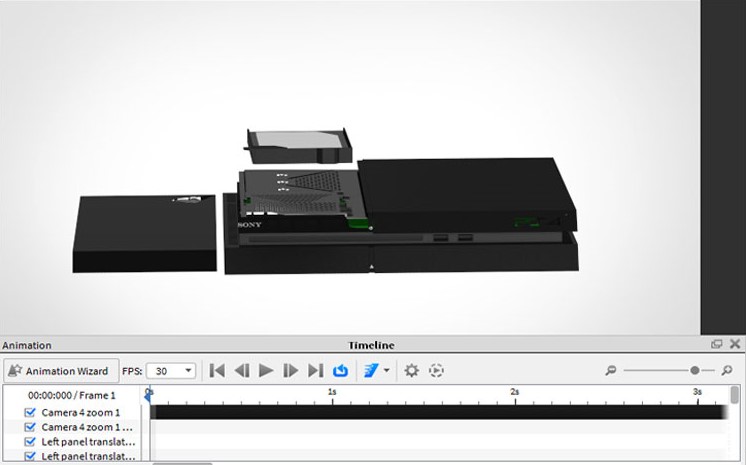
Now the outside of the ps4 had been done; I needed to model components inside to be used in different scenes I had in mind for the motion graphics. I started off with modelling the hard drive for the console.
After I modelled the metal sheet which held the hard drive, motherboard and other components. It took awhile because I had to use many different objects to create holes in the correct location.
The last part I modelled for the inside was the motherboard, which contained the ram for the console and this was one of the main points for the motion graphics video.
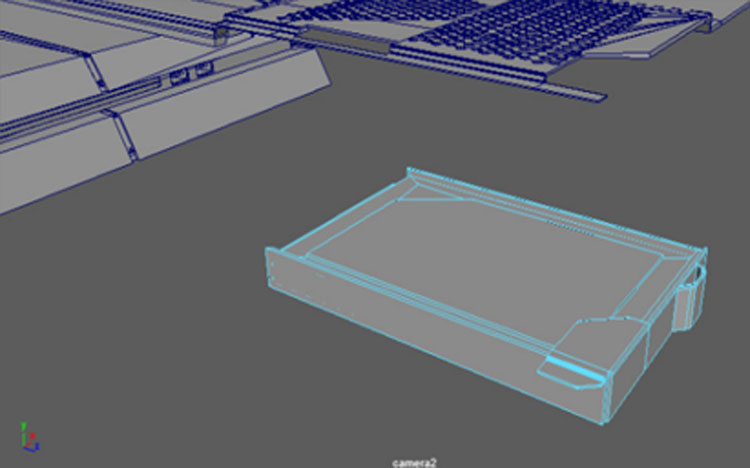
This is an image on how the inside components turned out; I am pleased with what I have done considering it had tricky angles and shapes.
Once, I had completed everything for the model I exported it to an external 3D rendering software. The software was named Keyshot, and it produced high quality renders in a short amount of time, which was useful as I could get a sense of how the model would look. In the software, you can put on the materials quickly, and this meant I could find the correct materials without hassle.

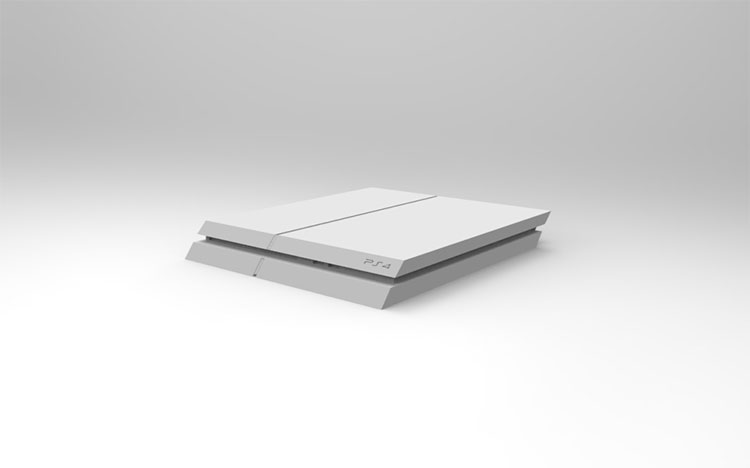
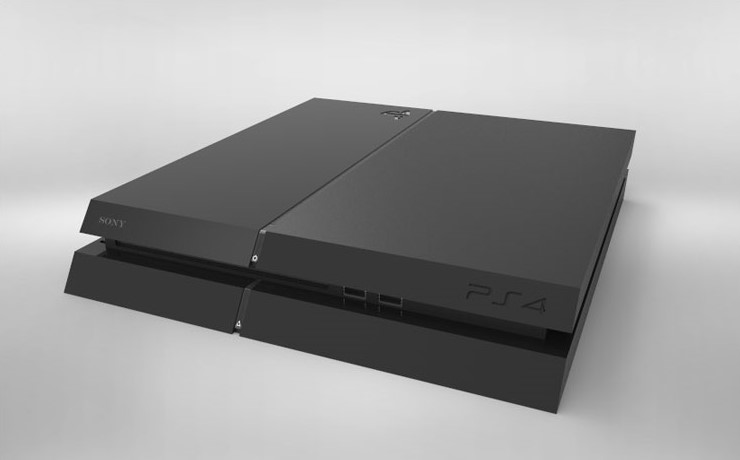
These are a few images on how the ps4 modelled looked like with the materials. I feel it looks like the real product and will work within the 3D product visualisation.
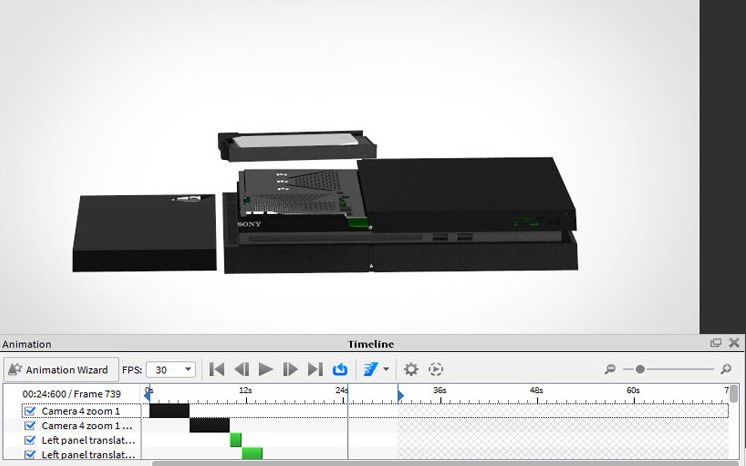
For the animation process, I went through several options. I first tried to use Maya to animate different scenes, but it did not turn how I wanted. The next route I went down was using a plugin called Element 3D, which allowed me to import my model straight into After Effects and gave full control over the model. The reason I did not use this option was that I could not get the model look high-quality. In the end, I used Keyshot, as they have an animation section within the software. There was a bit of a learning curve, but I was able to overcome it quite fast and got the hang of the process.
I produced several scenes of the model; these ended up taking a long time to render which had an effect on working in Affect Effects.
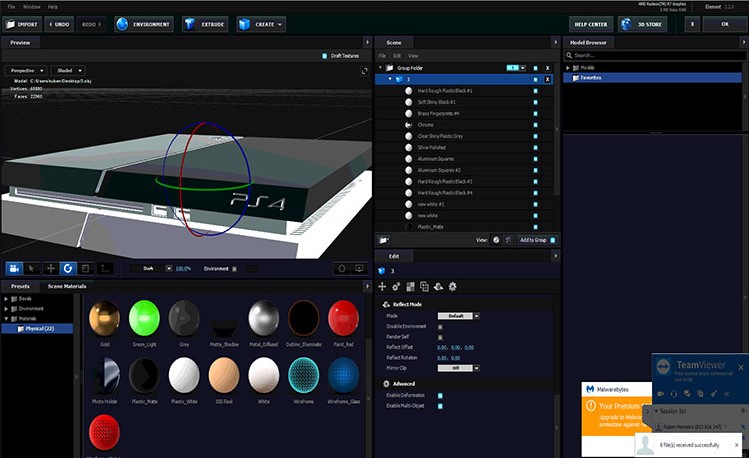
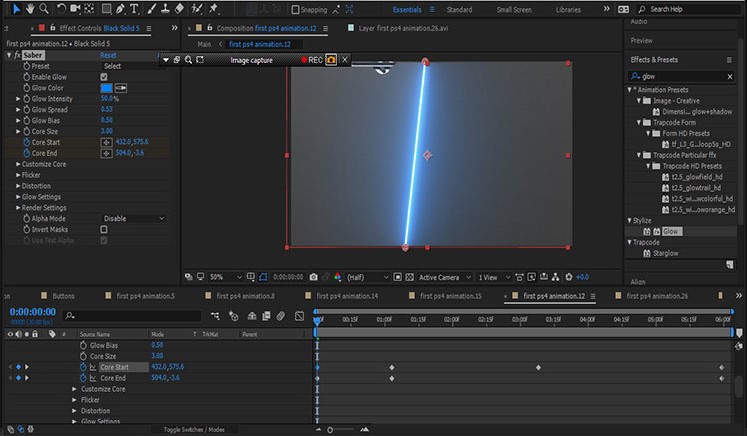
As stated before, I tried to use the plugin Element 3D. The image below is a window that shows when the model is imported. It allows the user to make changes to lighting, background and the materials for the model. The plugin was good, but it did just work for my project.
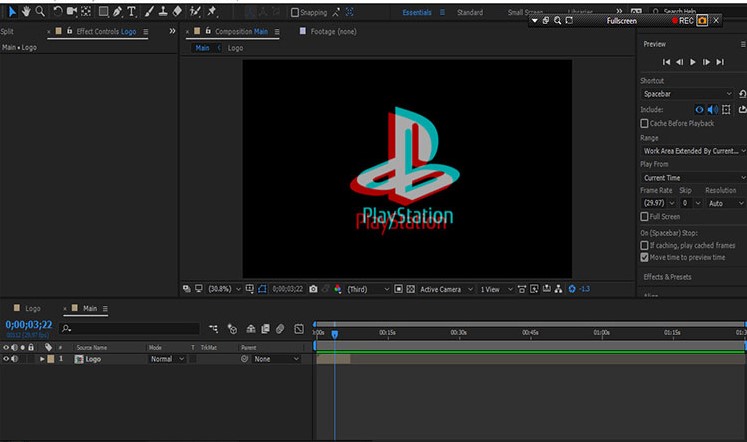
For the beginning shot of the motion graphics, it starts with the PlayStation, and it ends up glitching. The thought process was that the console was powerful that it affected another element within the video. I used an online tutorial to create the glitching effect on the logo.
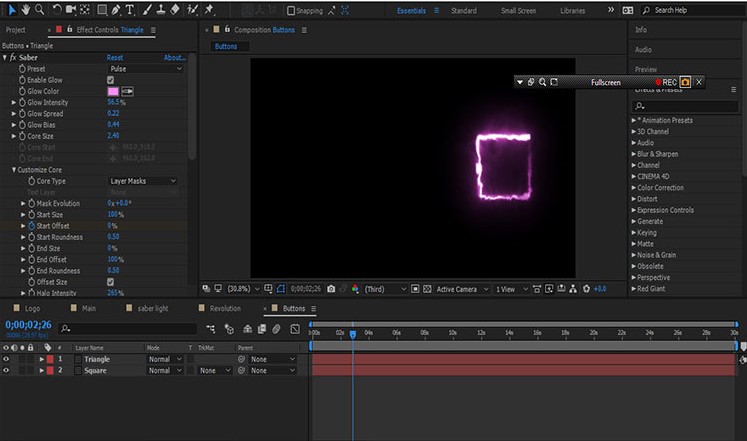
This neon effect gets used quite a fair few times because it fits in well with the video. I found a free plugin named Saber from Video Copilot, the plugin was easy to use and created unique effects which would take awhile for myself to produce manually.
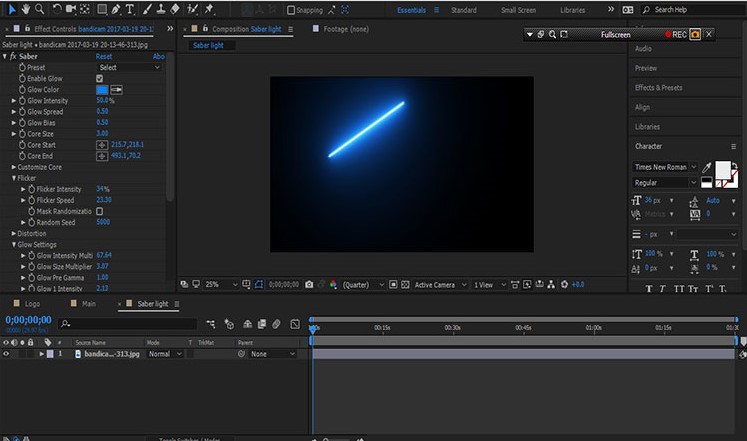
This is another use of the Saber plugin; it had many different presets and I found the ones which worked on the type of motion graphics I was producing.
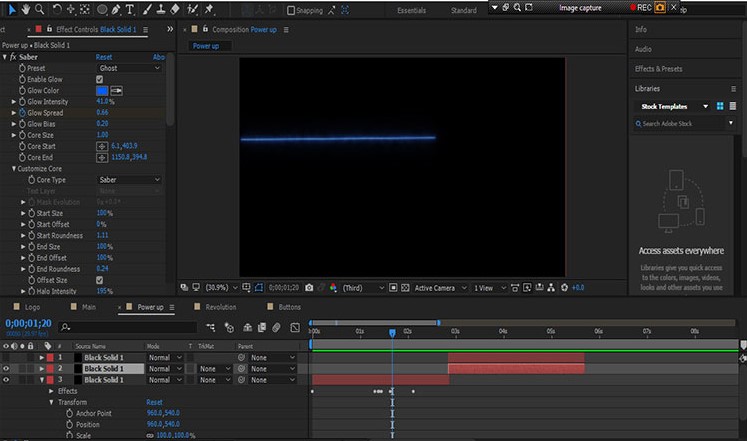
This shot was intended to tease the user into the video; the line is meant to represent the light bar found on the ps4. The line blinks twice before going away; the shot becomes clear once the rest of the video has been watched.
For the typography and graphics, I produced them myself using the shape layers and other options.

This an example of how I used the Saber plugin to create the light bar in one of the animation clips
Genre - 3D Product Visualisation
Content - PS4
Target Audience - My target audience will aimed towards gamers, who are interested in purchasing the PS4. Both genders will be targeted.
Outline - The video begins with the PS4, and then the text will appear. Once, that happens the light bar appears for a few seconds and then the shot moves onto the buttons, the camera zooms into the circle. This sets up the different clips of the ps4, after this, the video starts to show how to remove the hard drive, close view of the memory card. The final bit of the video is the exploded view of the PS4 showing the insides. The console resembles, and then the PS4 logo appears again.
Audio Elements - Sound tracks, sound effects. All these are taken from the Youtube Audio library.
Rational - The reason I wanted do a 3D visualisation is because I could use my 3D skills.
Resources - I used Adobe after effects to edit video, Adobe Illustrator to create graphic, keyshot to animate and Maya to model
Legal Considerations - I produced my own model and animated it my self. I found free music and sound effects through Youtube.