Sections
Project Year:
2017
The brief for this project was produce a stylised 2D or 3D character which also able to walk. I went down the route of 3D modelling, as I had never done it before and it grabbed my interest.
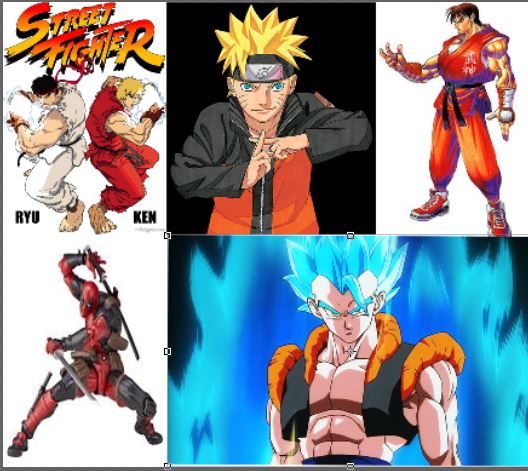
For the moodboard I wanted to have fightering characters, as this is what I wanted make character to be. He's a warrior and a fighter, and by gathering another well-known fighters, I could use this information to include in my character, whether it be the look or costume style.
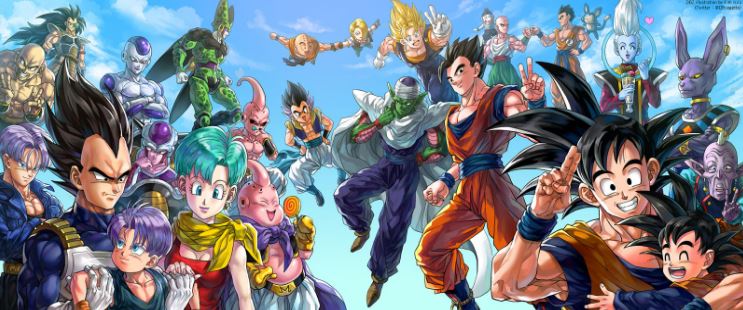
The inspiration for my character came from the anime show called Dragon Ball Z. The reason why I wanted my character to have similar style/look to Dragon Ball Z was that I admired the drawing style of the show. With this in mind, I tried to draw my fighter which resembled the other characters on the show.
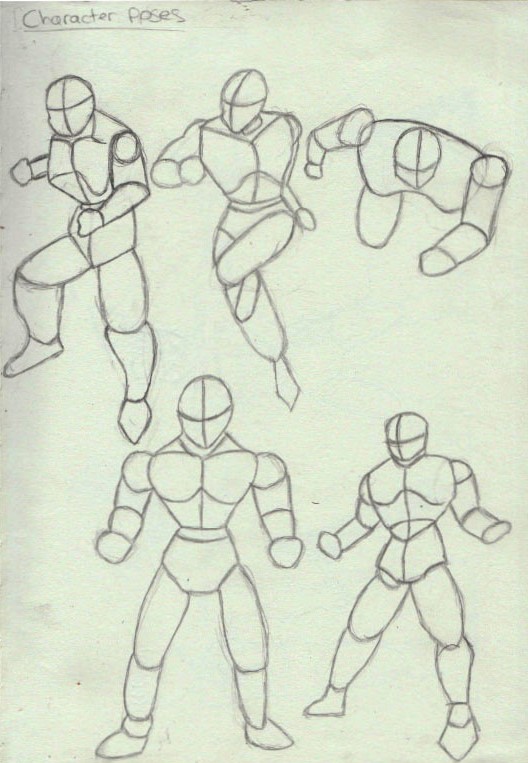
Started off my development process by doing character poses of fighters. It helped me picture how my character would move and the neccesary stages needed to give it the ability to walk.
These are some initial character sketches I came up with; I felt incorporated the distinct features of a Dragon ball Z character. I was not happy with the overall look the character.
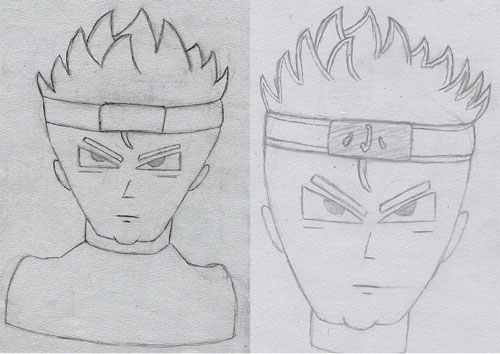
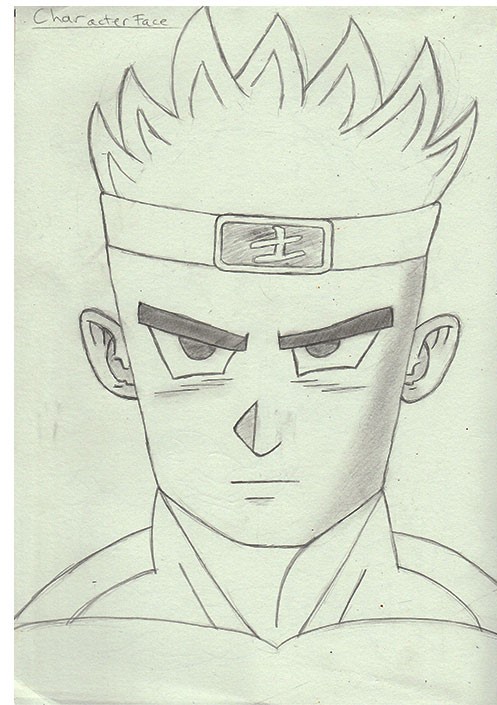
For my character’s face shape, I looked into different shapes and tried to find out the meaning behind the particular face shape. I discovered that faces which are more squared off linked to being warriors/fighters. With this information, I tried to mimic the face shape into my character.

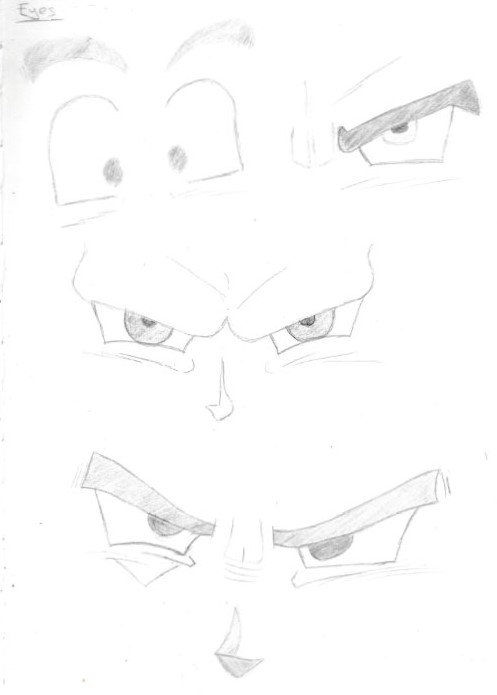
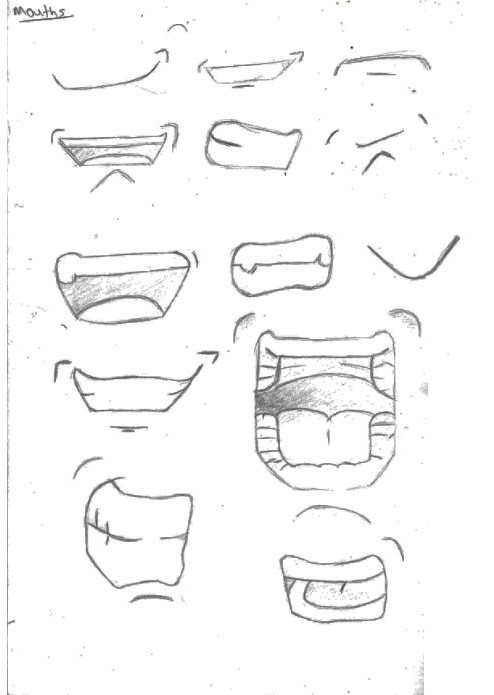
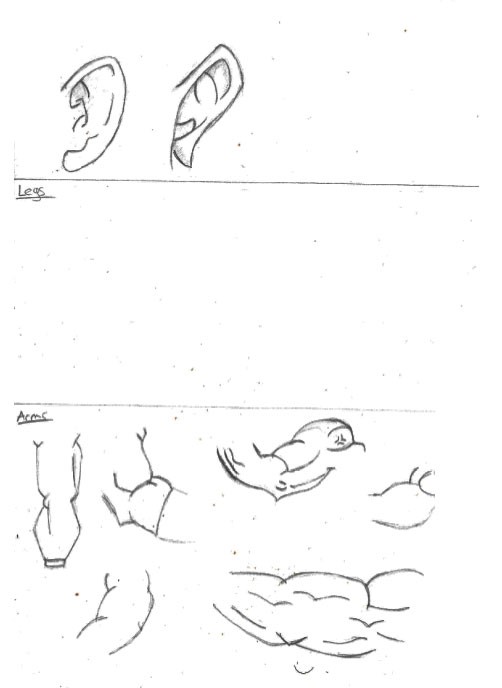
I sketched various mouths, eyes, ears and arms which are from Dragon ball z. I wanted to get to use the drawing style, as I felt this would help me to design my character in the particular style.
I drew out the front and side of my character to use a reference for when I started to model the character. The scale drawing had to be entirely accurate regarding the size because if the drawings were off then it would make the modelling more difficult.
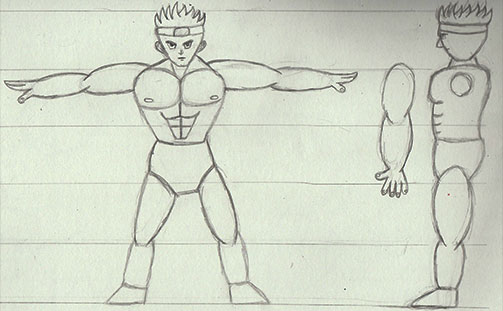
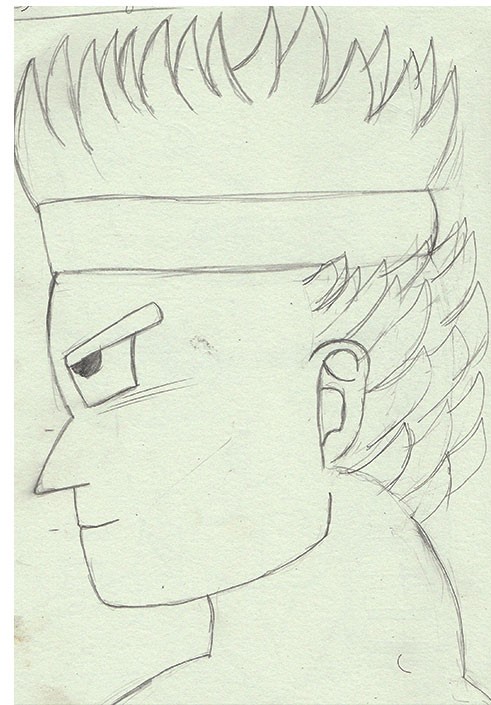
These are the final designs of my character. The Front and side view of the character’s face are going to be used as references when modelling the head; this would allow me to get the model to look like the character.
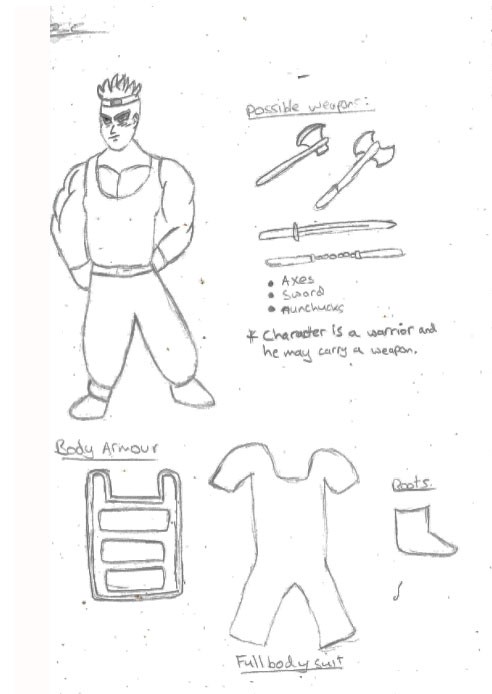
I designed a costume which my character would wear and also had thought out some potential weapons. The weapons were not 100% guaranteed, it all depended on whether the weapon would suit the character’s back story.
As I am fairly new to 3D modelling, I did not know which software would be the best for me to use. I tried mudbox, 3ds max, cinema 4D. Each of the different softwares had benefits to using them but ultimately I went with Maya. For me it felt the easiest to use and I was able to recieve a tutorial on the software.
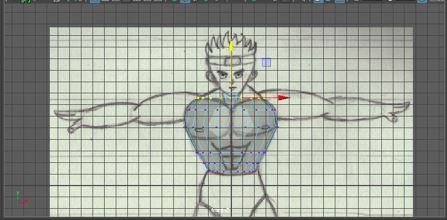
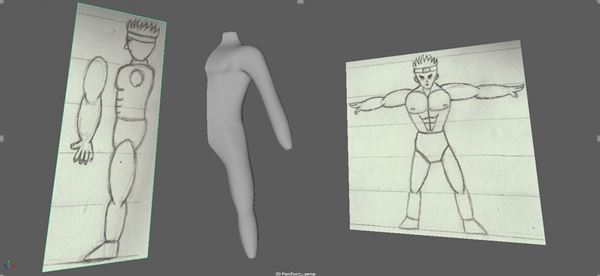
For the modelling process, I started off by importing the front and side views of my character into the Maya scene. I had to line up both the drawings together to ensure that the model would be the same size. If they were the wrong size, it would make it more difficult for me to shape the character to scale. After the front and side had been in the correct position, I began to model by using a cylinder shape and then I would take the separate vertexes and move to the right part of the drawings. I would switch between the front and side views to get the correct shape.

When it came to modelling the arm, I started off by using the cylinder shape again and just like what I did for the torso/back; I switched to the front and side to match up against the image planes. It enabled me to get a basic arm shape, and I repeated this process for the leg.
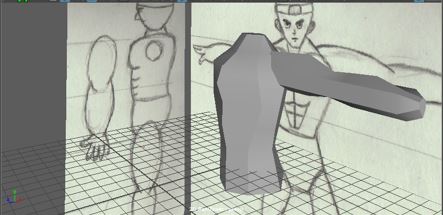
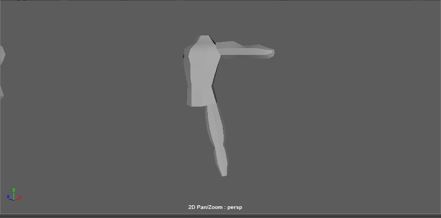
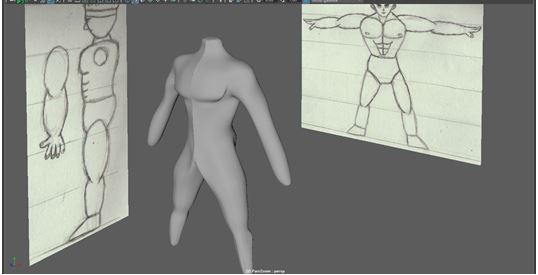
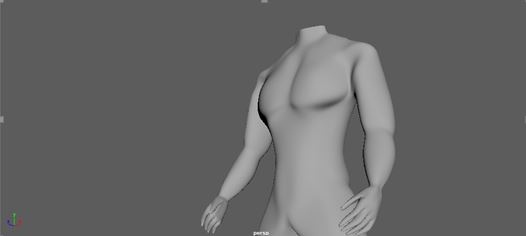
I began to attach the limbs of the model to the body. When it came to the arm, I could not attach to the shoulder in the T pose, so I had to find a new way. The first step to physically connecting the limbs was I had to delete the front faces of the arm, leg and also the area where the limb would go. Once that was done, I would match the vertexes of the body and limbs together, then merge vertexes. Once the limbs were on the body, I started to model the shape of the character’s body.
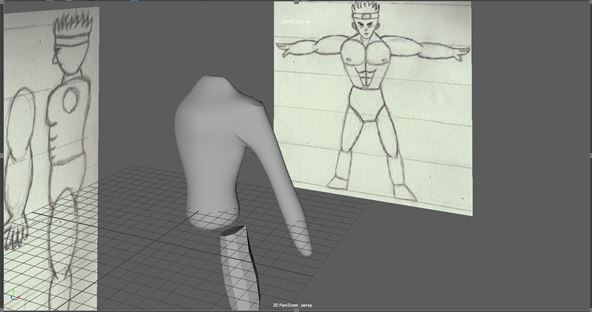
To make things easier when it came to modelling, I duplicated special the one side of the body I had done. So any changes I would make either side of the model the same action would happen on the other side. It meant I did not have to keep modelling both sides and try to get them to match up correctly.
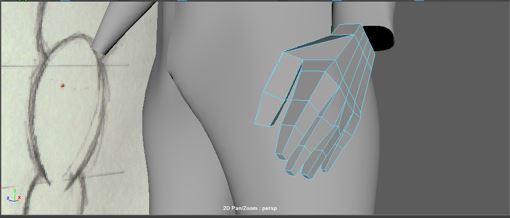
I had to model the hands of the character; I started out with a cube then I cut an edge loop to make the knuckles, and then I extruded the faces for the fingers.
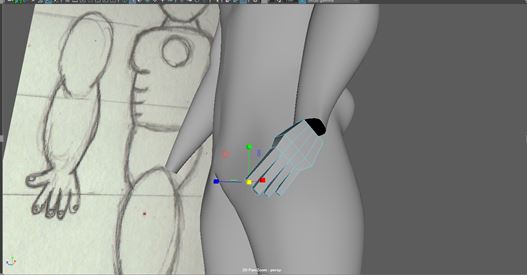
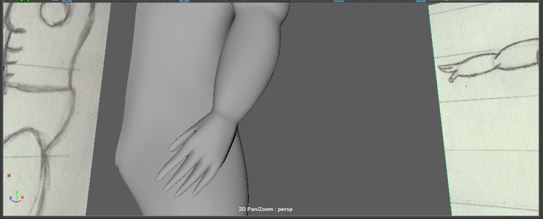
To make the thumb I used the index finger as they are a similar size. I had to make a little bit thicker to make the thumb. I attached the corner vertex of the thumb to the corner of the hand. I used the Ctrl + D to move the pivot of point temporarily; this allowed me to rotate the thumb into a natural position. After this, I just needed to connect the thumb and the hand, I used the bridge tool to fix the holes.
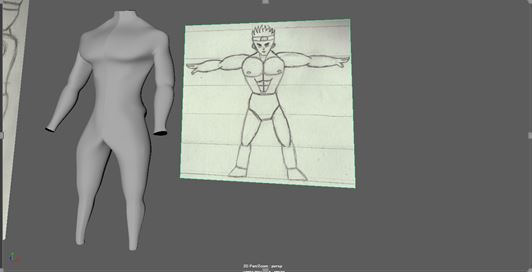
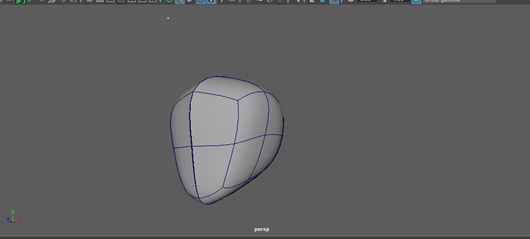
Before starting to model the head, I went over the topology of the body to get to look human and also for it look like the drawings of the character. I started off with a basic cube to model the head. I scaled it up to the front and side views of the character.
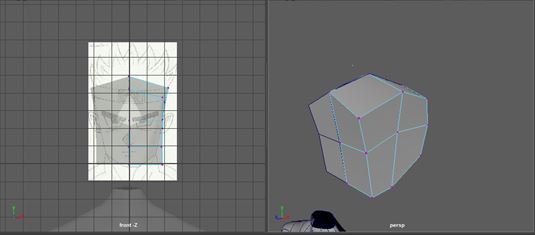
To have more control over the look of the character, I would insert edge loops and keep on shaping the head to drawings.
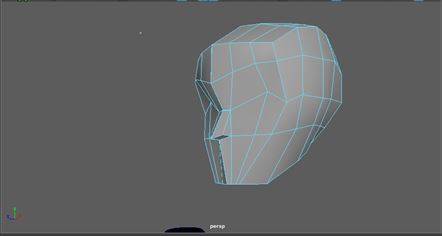
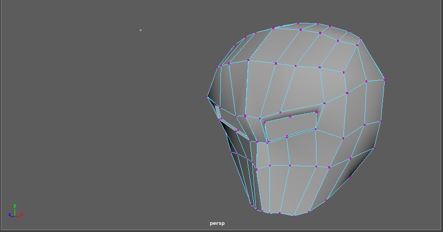
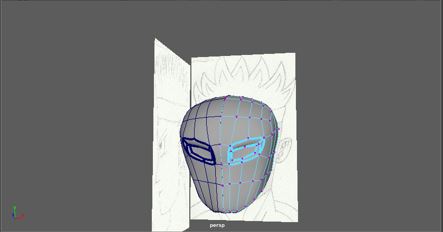
I started to add more detail to the head, and I had to more around the vertexes to create the eye sockets, once that was done I could out in the eyes.
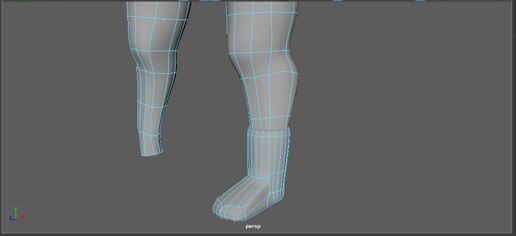
I attached the head to body using the same technique I used for the rest of the limbs. The reason why I connected the head before I finished modelling it was that it would have fewer edges making it easier to connect them together. For the foot I fashioned boots which were part of his costume, it was not too difficult to attach the boots to the rest of the body.
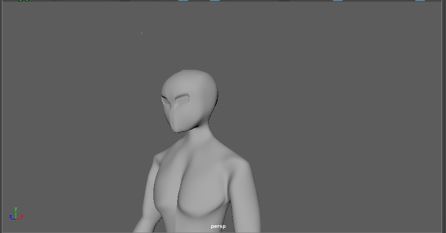
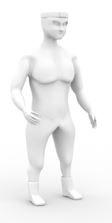
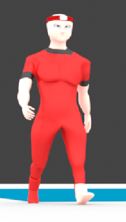
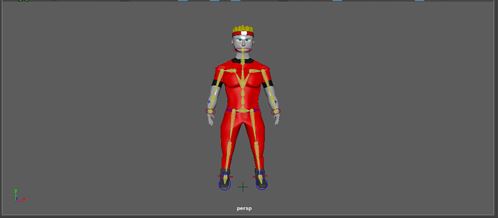
These were shots of the model rendered. They are not complete, but it enabled me to get an idea of how the model would turn out.
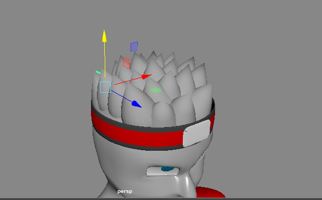
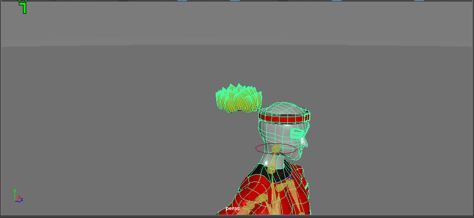
Modelling the hair more challenging than I thought, firstly I tried to use xgen to add hair, but it ended up not working correctly. The solution I found was using the cone shape to create my character’s spiky hair.


Before finishing off my model, I went over the model to remove triangles and turn them in quads, and it would make rigging and animating easier.
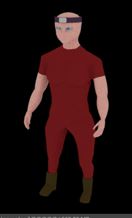
Texturing my character was not too difficult, as I used the textures in Maya to colour the different aspects of the model. Arnold had a skin texture, so this is what I used for the model..
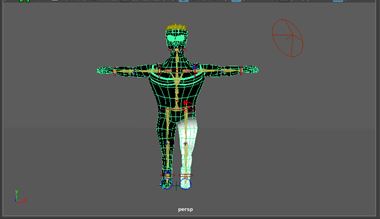
When it came to rigging my character I used the quick rig tool inside of Maya and this created bones and joints for my character. I could use the handles to move my character around. I painted weights over the character, so when I moved a body part it would move and not move other body parts. The paint weights tool did not work well for me as individual parts would still move, I could not figure out how to get around this problem.
For animation process, I referenced a walk cycle, and I would use it to move my model into the correct position for the specified point in the timeline. Once I had the model in the right pose, I would key shot it into the timeline.
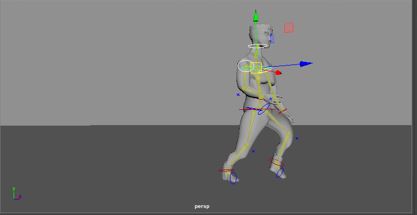
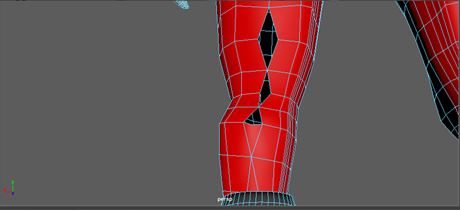
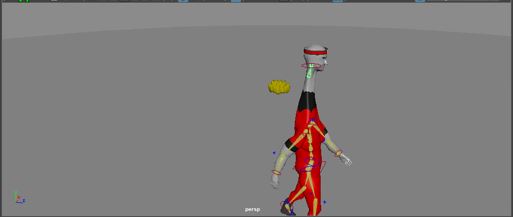
I had a few problems when it came to the walk cycle; these examples show how individual parts would not move together even when connected or parented together. I eventually found a solution on how to make the model move all as one.
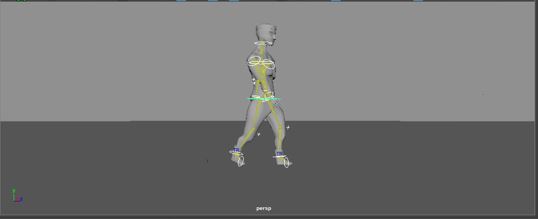
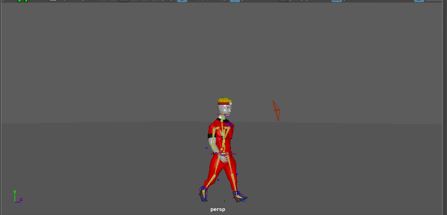
A shot from the character’s walk cycle
Rendering out the animation proved to be a difficult task. As I was using Maya 2017, the usual rendering out the software was not available for this year this meant it had to try use different rendering out software. I installed and tried many different ones until I used Arnold the render inside Maya 2017. Even this render had its problems, and I did not achieve the quality I wanted.
This is how the final walk cycle turned out.
Name: Max the Great
Age: 23
Bio: Max the Great is a fierce warrior, who is sworn to protect his village from ancient mystical warlords. Each day he has to fight to keep the ones he loves safe from the wrath of the warlords.
The industry which my character will be used is Game. As it is a 3D model and can be used a game asset. The polygon count is not too high on the Model. Could potentially have a level of the village and he has to defend the people and homes from the warlords.